
Complete Conversion Van Parts and Accessories Guide for Your Build in 2026
Every van conversion starts with the same problem. You know you need parts, but the full list is never in one place. This guide on conversion van parts and accessories covers every major system. It breaks down costs and the mistakes that stall most first-time builders. Whether you are sourcing individual components or comparing kits, this is your starting point.
The full process connecting these systems is covered in the van conversion process guide on the Mango Vans journal.
What Are Conversion Van Parts and Accessories?
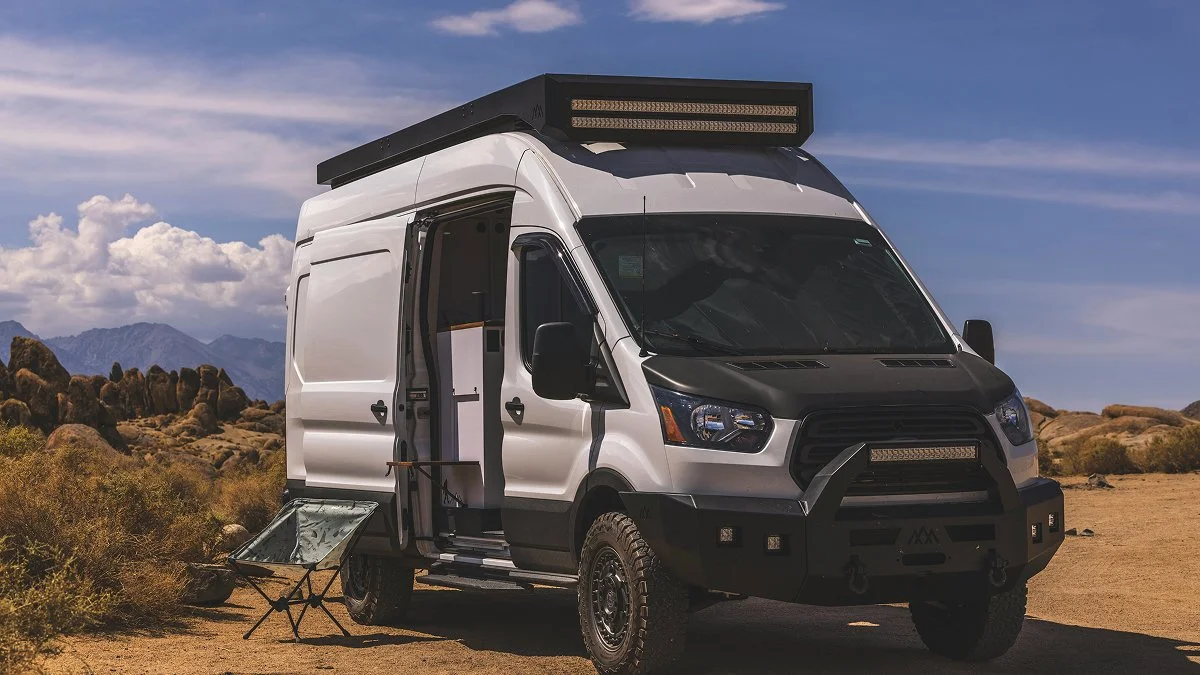
Conversion van parts and accessories fall into two categories. Parts are functional components that make the van livable. That includes insulation, subfloor, electrical wiring, water tanks, and furniture. Accessories are optional upgrades that improve comfort, storage, or usability. Think roof racks, awnings, bike mounts, backwoods Sprinter bumper, and upgraded lighting.
The line shifts based on how you travel. A roof rack is optional for a weekend build and essential for a full-time overlanding setup. A plumbing system is optional for a city dweller and essential for someone spending two weeks in the backcountry.
Before sourcing any conversion van parts and accessories, confirm your van platform. The Sprinter, Ford Transit, and RAM ProMaster have different interior dimensions, subfloor profiles, and sensor configurations. Parts are not interchangeable between platforms without modification. The best chassis comparison guide covers how platform choice affects what you need and what it costs.
Conversion Van Parts List by System
Van builds are easier to plan when parts are grouped by function. These are the six core systems every camper van conversion requires.
Electrical System
The electrical system is the most complex and expensive part of any build. Core components include a battery bank, charge controller, inverter, distribution panel, wiring, and fuses. Lithium batteries cost more than AGM but handle deeper discharge cycles and last longer.
Solar panels are optional for weekend builds and essential for full-time off-grid use. Shore power connections let you plug into campground hookups when available. Plan the full system on paper before ordering. Battery size drives solar requirements, which drives charge controller sizing.
The Van Conversion's parts and supplies guide covers every electrical component category. It helps first-time builders avoid compatibility mistakes before ordering.
Interior Build Components
Interior build parts form the physical structure of the living space. This includes the subfloor, wall panels, flooring, bed platform, and cabinetry. Plywood is the most common structural material. Vinyl plank and sheet vinyl are the most popular floor finishes for durability and moisture resistance.
The bed platform drives the entire layout. Decide bed position before buying a single cabinet, shelf, or panel.
Plumbing System
A basic plumbing system needs a fresh water tank, a 12V pump, a sink, and a grey water tank. A shower adds a demand pump, a water heater, and a drain connection. Tank sizes range from 10 gallons for weekend use to 30 or more gallons for full-time builds. Size your grey tank equal to or larger than your fresh tank.
HVAC and Comfort
Insulation is the single highest-impact component in any build. It controls temperature year-round, reduces condensation, and determines how livable the van is across seasons. Roof vent fans are essential for airflow and moisture management. Diesel or propane heaters handle cold-climate builds. In extreme heat, a van-specific air conditioning unit is worth considering.
Campervan HQ's van insulation guide covers material options, R-values, and the most common DIY mistakes. Treating insulation as an afterthought is the one that costs the most to fix.
Exterior Accessories
Exterior accessories include roof racks, ladder mounts, awnings, bike racks, and aftermarket windows. These are mostly optional but become important for full-time and overlanding builds where gear storage and weather protection matter. Aftermarket windows improve ventilation and natural light significantly over the sealed factory configuration.
Lighting and Electronics
LED lighting kits, USB outlets, 12V power ports, and control panels round out the build. Most builders wire lighting off the house battery system. Smart control panels let you monitor battery state, solar input, and tank levels from one display. These add cost but pay back in daily convenience on longer trips.
Must-Have vs Optional
| System | Must-Have | Optional |
|---|---|---|
| Insulation | ✅ | |
| Subfloor and flooring | ✅ | |
| Bed platform | ✅ | |
| Electrical wiring and battery | ✅ | |
| Roof vent fan | ✅ | |
| Solar panels | ✅ | |
| Plumbing system | ✅ | |
| Water heater | ✅ | |
| Awning | ✅ | |
| Roof rack | ✅ |
DIY Parts vs Pre-Built Kits and What It Costs
Most first-time builders choose between sourcing parts individually and buying a pre-built conversion kit. Both approaches have clear trade-offs.
| Factor | DIY Parts | Conversion Kit |
|---|---|---|
| Upfront cost | Lower | Higher |
| Build time | High | Low |
| Skill required | Medium to high | Minimal |
| Customization | Full | Limited |
| Risk of errors | Higher | Lower |
DIY part sourcing gives full control over every component. The risk is compatibility errors and the time required to research each system independently. Kits remove that research burden but lock you into fixed configurations with less flexibility to adapt mid-build.
Cost ranges by system:
| System | Estimated Cost |
|---|---|
| Electrical (basic) | $1,000 to $4,000 |
| Electrical (full solar + lithium) | $4,000 to $10,000 |
| Interior build materials | $2,000 to $8,000 |
| Plumbing system | $500 to $3,000 |
| Insulation | $300 to $1,200 |
| Exterior accessories | $500 to $3,000+ |
A basic full DIY build runs $5,000 to $12,000 in materials. A full off-grid setup with solar, plumbing, and custom furniture runs $12,000 to $25,000. The van purchase is separate from all of these figures.
This used vs new van guide covers what to inspect and budget for before the build starts.
How to Choose the Right Conversion Van Parts
Five steps keep most builders on track before they order anything.
Define your use case first. A weekend build needs different parts than a full-time off-grid setup. This remote work van life guide covers what full-time daily use actually demands from each system.
Choose your van platform before buying any fitment-specific parts. Flooring kits, insulation packs, and furniture mounts are platform-specific. Buying before the van is confirmed wastes money.
Plan your electrical system on paper before ordering components. Every decision cascades from battery size down to fuse ratings.
Set a budget with a 20 to 30 percent buffer. Electrical and plumbing overruns are the most common.
Decide on DIY versus a kit before ordering anything. Mixing the two mid-build creates compatibility problems.
Common Mistakes to Avoid
These errors cause most delays and budget overruns in first-time builds.
Buying parts before choosing the van platform is the most expensive mistake. Flooring kits, insulation packs, and electrical kits are platform-specific and often non-refundable.
Underestimating the electrical system budget is near-universal. Most builders plan for the battery and panel and forget the wiring, fuses, connectors, and charge controller.
Skipping insulation causes problems that cannot be fixed without removing the entire interior. Build it in from day one.
Overspending on aesthetic upgrades before functional systems are finalized leaves builders short when it counts.
Why Choose Mango Vans for Your Build
Building with the right conversion van parts and accessories is complicated. Getting every system compatible, properly sized, and installed in the right order takes experience most first-time builders underestimate.
Mango Vans designs and builds custom van conversions out of South Florida. Every build is planned as an integrated system rather than a list of individual conversion van parts and accessories. Electrical, plumbing, insulation, and interior components are specified and installed together. That eliminates the compatibility gaps that cause the most common first-build failures.
For parts sourcing, purpose-built van conversion suppliers and specialty overlanding retailers carry the highest-quality fitment components. General hardware stores cover structural materials. The custom van builds page shows what a professionally integrated build looks like across adventure and commercial van types.
Frequently Asked Questions
What parts do I need for a van conversion?
The core parts are insulation, subfloor, flooring, a bed platform, electrical wiring and battery, and a roof vent fan. Plumbing, solar, and cabinetry depend on your use case. Everything else scales with how you travel.
How much does a van conversion cost?
A basic build runs $5,000 to $12,000 in materials. A full off-grid setup with solar, plumbing, and custom furniture runs $12,000 to $25,000. The van purchase is separate. Professional builds start at $20,000.
Which kit fits my van model?
Most kits are platform-specific. Confirm compatibility with your van's wheelbase, roof height, and model year before ordering. Sprinter, Transit, and ProMaster kits don't cross-fit without modification.
What's essential vs optional in a van build?
Insulation, subfloor, flooring, a bed platform, basic electrical, and a roof vent are essential. Solar, plumbing, awnings, and climate control are optional. They become more important the longer you stay off-grid.
Can I DIY or should I buy a kit?
DIY saves money and gives more control over conversion van parts and accessories selection. Kits save time and reduce research burden. Most builders handle interior work themselves. Electrical and plumbing benefit from a kit or professional help on the first build.
What is the difference between a van conversion kit and individual parts?
A kit bundles matched components for one or more systems with instructions included. Individual parts give full control but require you to verify compatibility yourself. Kits are faster. Individual parts are more flexible and often cheaper overall.
Where is the best place to buy van conversion parts?
Platform-specific van conversion retailers carry the best fitment parts. General hardware stores cover structural materials like plywood and fasteners. Specialty overlanding shops stock electrical kits, solar components, and exterior accessories.
How do I know which parts are compatible with my van?
Start with your van's model year, wheelbase, and roof height. Most conversion parts list compatible configurations in their specs. Confirm fitment with your VIN before ordering platform-specific items.
What order should I install van conversion parts?
Insulation and subfloor go first. Electrical rough-in follows before the walls close. Flooring, wall panels, and furniture come after. Plumbing is last. Installing out of sequence forces teardowns.
How long does it take to source all the parts for a van build?
Most builds take two to six weeks to fully source. Electrical components and specialty insulation often have lead times. Plan the full parts list before ordering anything to batch shipments and avoid mid-build delays.