Rust Prevention: How to Protect Your Van From Corrosion
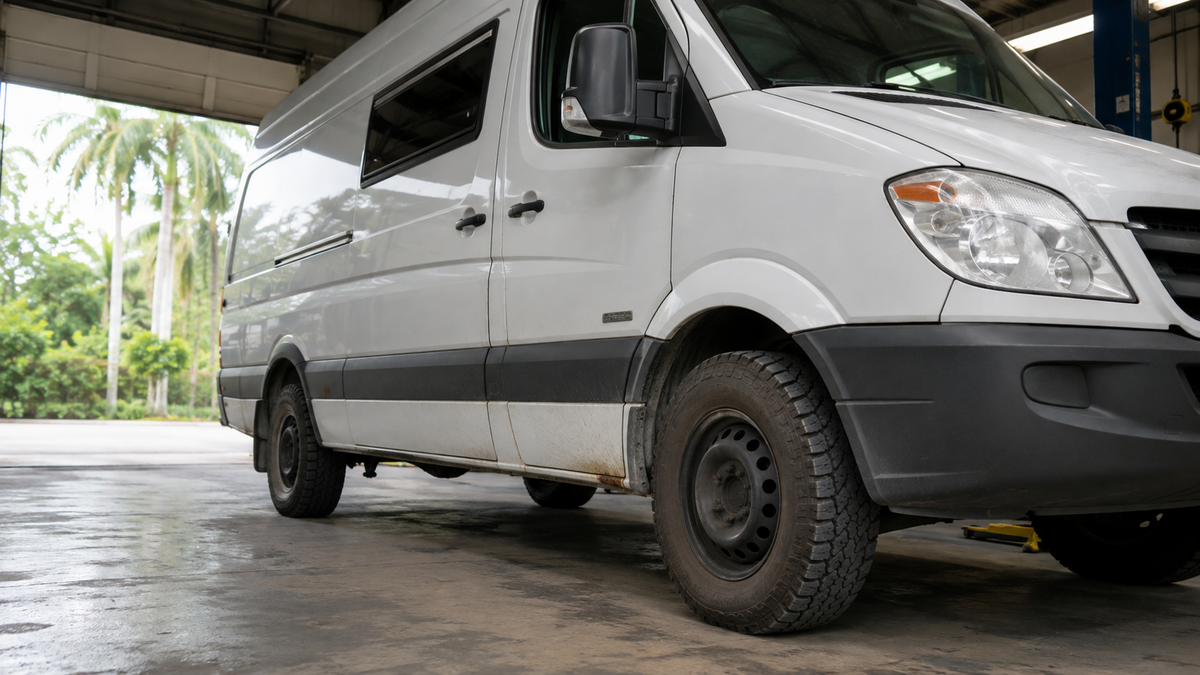
Rust starts where moisture sits and coatings fail. Road salt, standing water, chipped paint, and blocked drainage all create conditions for corrosion. Rust prevention for vans is straightforward when addressed early. Once surface rust progresses to flaking or perforation, repair becomes significantly more costly. The goal is to identify vulnerable areas, protect exposed metal, and inspect regularly.
Why Do Vans Rust?
Steel corrodes when moisture and oxygen contact unprotected metal. Chips from road debris, UV degradation, and flexing at seams break factory coatings over time.
Vans are particularly vulnerable because of their large flat undercarriages and the cavities that trap water and mud. Road salt accelerates corrosion significantly. Dissolved salt acts as an electrolyte that speeds up the process. Sprinter van rust areas including the undercarriage, wheel arch liners, and lower door seams are consistent problem points across high-mileage builds.
Interior condensation from cooking and living inside the van can rust floor pans and lower wall sections from the inside out.
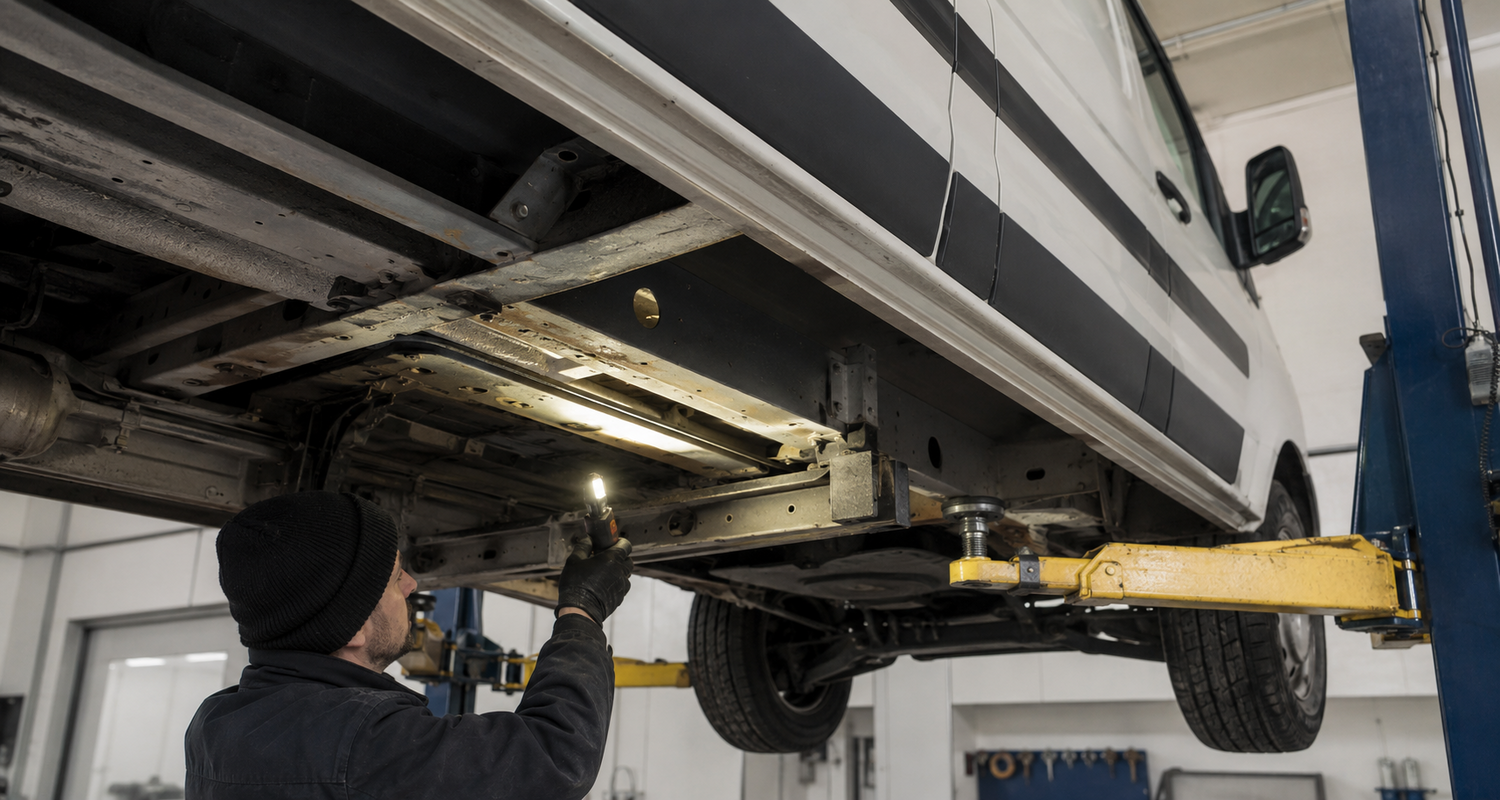
Where Should You Check a Van for Rust?
Undercarriage and frame. Look along longitudinal frame rails, cross members, and welded brackets. Surface scale is common. Perforation or flaking needs immediate attention.
Wheel arches and inner fenders. Mud packs behind plastic liners and holds moisture against the metal.
Rocker panels and lower sills. These sit in the road spray zone and are among the most commonly corroded areas on any van.
Door bottoms and sill edges. Water enters through seals and sits at the bottom of door cavities. Blocked drainage holes accelerate rust here.
Floor and seams. Interior leaks and condensation attack the floor from above while road spray works from below.
Roof penetrations. Any antenna, vent, or roof rack mounting point is a potential water entry path.
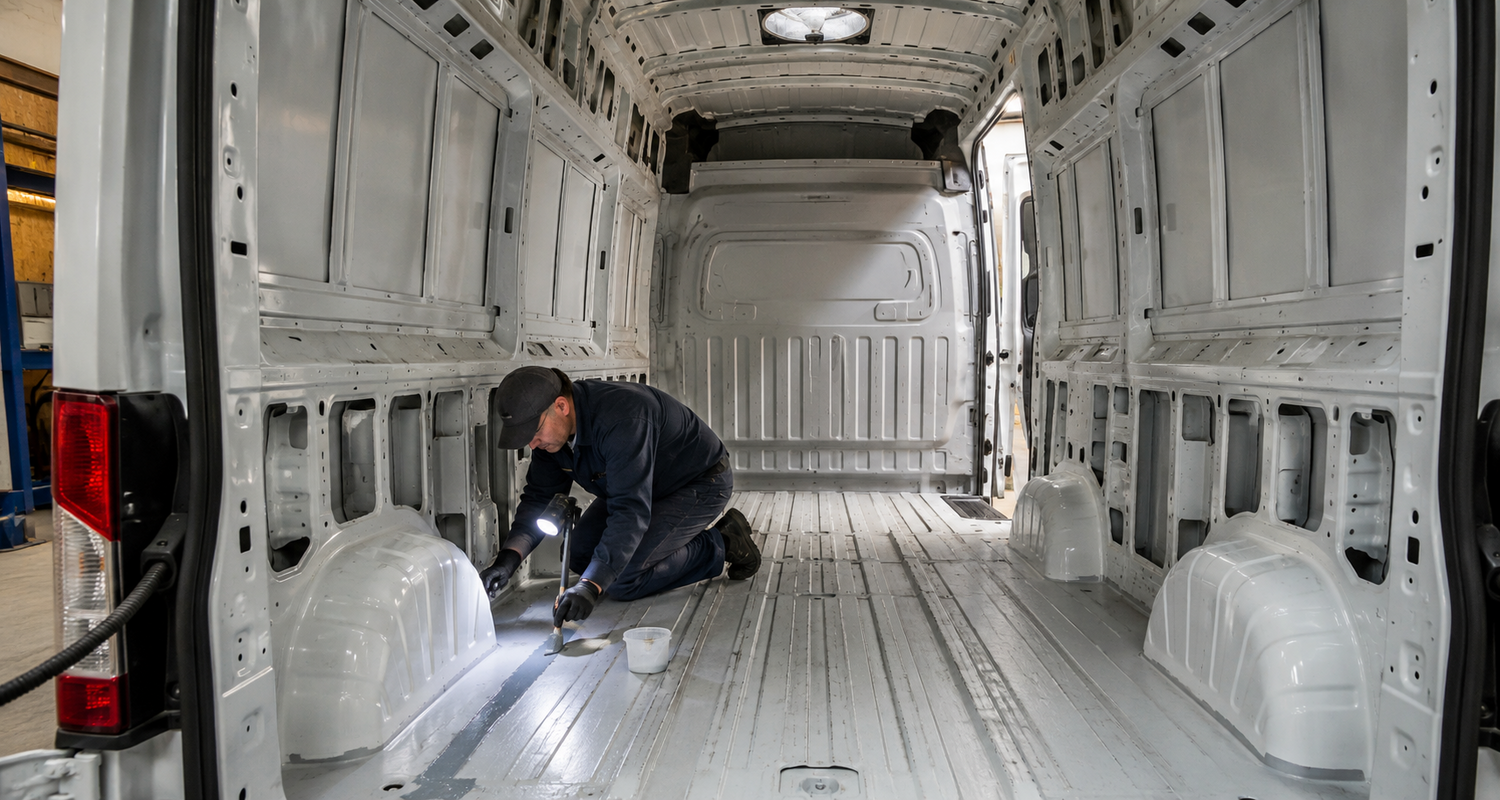
Undercarriage and suspension components sit in the same exposed zone. A full inspection of the bare shell before a conversion is the most important single check a prospective builder can do.
How to Prevent Rust on a Van
Prevention follows a consistent process.
Wash regularly, including the undercarriage. Road salt bonds to metal between washes. A thorough undercarriage rinse after winter driving or coastal routes removes the primary accelerant.
Clear drainage holes. Vans have factory drainage points in doors, sills, and floor sections. Blocked holes let water sit and corrode.
Repair paint chips promptly. Bare metal begins rusting within days in humid conditions. Touch-up primer followed by a topcoat stops the process.
Protect seams and cavities. Seam and cavity protection using cavity wax or a penetrating oil-based treatment reaches areas exterior coatings cannot. Factory seam sealer hardens and cracks. Resealing after cleaning restores the barrier.
Apply underbody protection. A flexible coating over clean, prepared metal protects the undercarriage from abrasion and water. Application over existing scale traps moisture underneath. Preparation is the critical step.
Keep metal dry inside the van. Protect exposed steel with a rust-inhibiting primer before any interior work covers it.
Regular washing and visual inspection of paint, seals, and drainage points is the most cost-effective rust prevention available.
What If Your Van Already Has Rust?
The right response depends on how far corrosion has progressed.
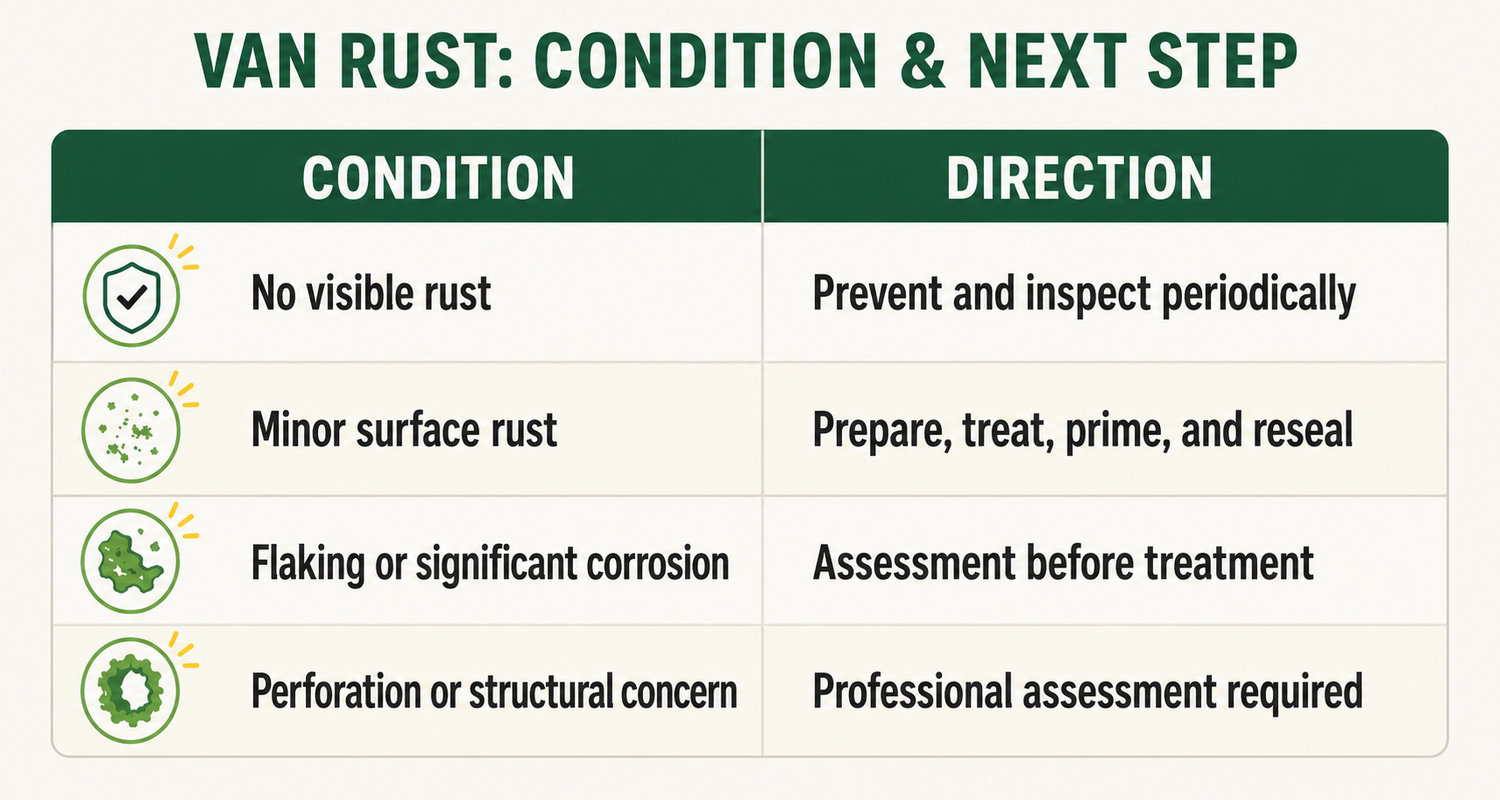
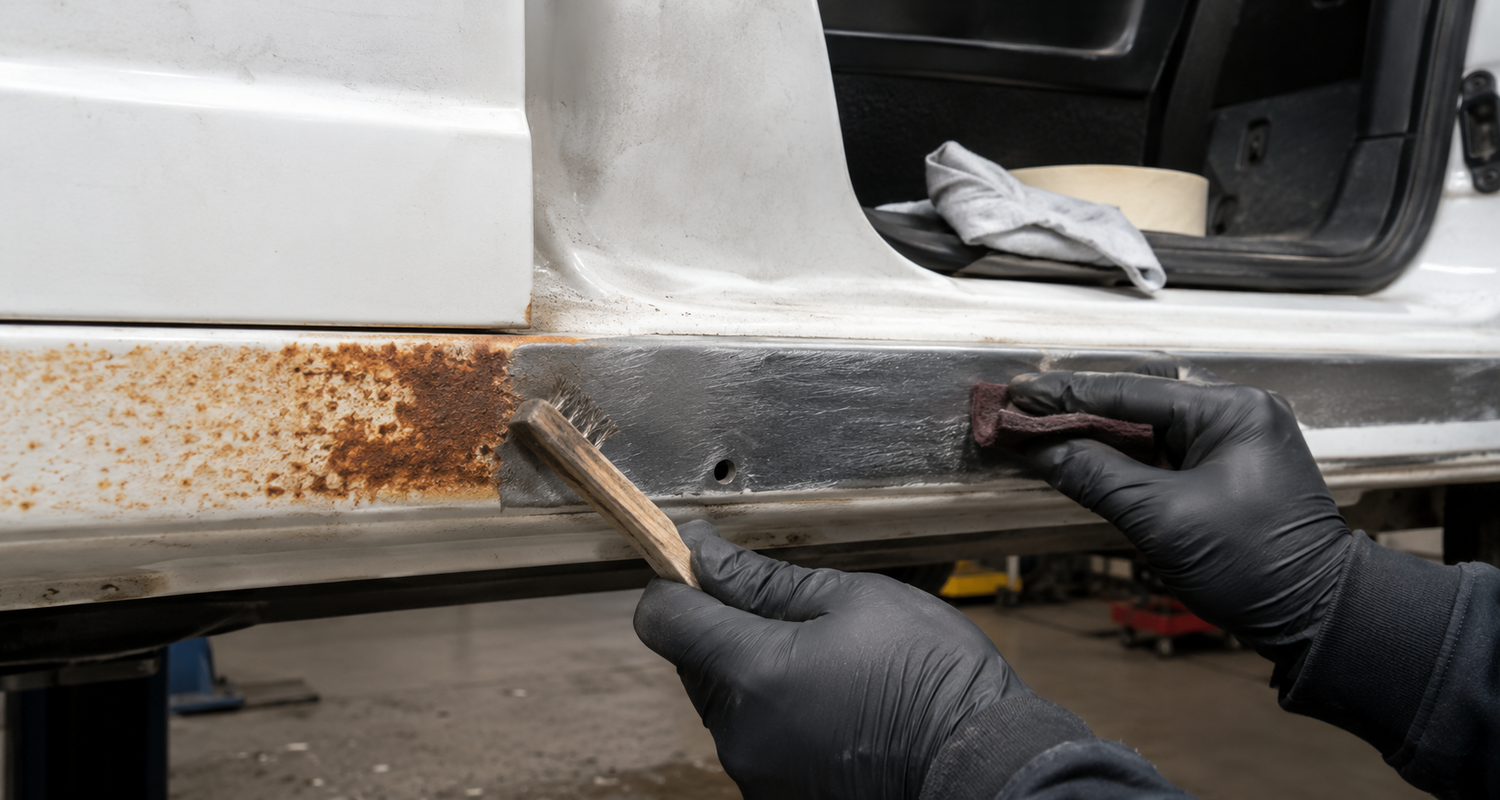
Surface rust that has not penetrated the metal can be addressed by removing loose scale, applying a rust converter, priming, and finishing with a protective topcoat.
Rust converter changes iron oxide into a more stable compound that can be primed over. It does not replace preparation. Loose rust must come off first. Painting directly over active scale traps moisture and accelerates the problem.
When corrosion extends beyond surface treatment, professionally planned van builds begin with a thorough shell inspection before any work covers the original metalwork.
DIY vs Professional Van Rust Treatment
DIY rust prevention suits routine maintenance and isolated surface rust on accessible panels. Washing, drainage maintenance, paint chip repair, and periodic inspection are all practical DIY tasks.
Camper van rust treatment professionals use lifts, pressure washing, and abrasive media blasting. This makes preparation of the undercarriage, seams, and frame more complete than most DIY approaches.
When corrosion is in cavities, seams, or frame members, professional inspection identifies what is present before any work covers the metal. Professionals can also determine whether metal needs repair rather than just treatment.
Why Rust Prevention Matters Before a Van Conversion
Once flooring, insulation, wall panels, and cabinetry are installed, the underlying metal is largely inaccessible. Any rust present before the conversion, or that develops from moisture trapped during the build, cannot be inspected or treated without removing the interior.
Interior moisture management is directly linked to rust risk. A van with poor ventilation generates condensation that sits against the floor and lower walls. Addressing ventilation at the design stage prevents interior corrosion.
The strongest argument for rust inspection before converting is straight forward. It is the only time the work is fully accessible and cost-effective.
Rust prevention and early treatment are part of keeping any van reliable. Routine van maintenance that includes inspection of paint, seams, and drainage extends that reliability. Mango Vans designs and builds custom Sprinter, Transit, and ProMaster conversions out of South Florida. See the completed builds gallery to see how builds are prepared and specified.
Frequently Asked Questions
How do I prevent rust on my van?
Wash the undercarriage regularly, clear drainage holes, repair paint chips promptly, protect seams and cavities, and inspect annually for surface rust.
Why do vans rust?
Moisture and oxygen contact unprotected steel. Road salt, chipped paint, blocked drainage, and interior condensation all accelerate the process.
Do rust prevention sprays really work?
Yes, when applied over clean, prepared metal. Surface preparation determines the result more than product selection.
Can you stop rust once it has started?
Surface rust can be halted with proper treatment, primer, and topcoat. Advanced corrosion with flaking or perforation requires more significant repair.
Should you remove rust before applying rust converter?
Loose and flaking rust must come off first. Rust converter works on firmly adherent rust, not on scale with no bond to the metal.
Can you paint directly over rust on a van?
Not effectively. Paint over active rust traps moisture and accelerates corrosion. Treat, prime, and topcoat in that order.
How often should you check a van for rust?
At minimum once per year, and after any period of heavy winter driving or coastal travel.
Where are vans most likely to rust?
Undercarriage, wheel arches, rocker panels, lower door sections, floor seams, and anywhere water is blocked from draining or debris packs against metal.
Should rust be treated before a campervan conversion?
Yes. Once insulation, flooring, and cabinetry cover the shell, underlying rust is inaccessible. The bare shell is the only practical time to treat it thoroughly.
When should van rust be professionally repaired?
When corrosion involves seams, cavities, frame members, or floor pans, or when preparing a van for conversion and a complete inspection is needed.