
How to Turn a Van into a Camper Without Wasting Time or Money

The idea of turning a van into a camper looks straightforward on social media. In practice, it involves sequencing decisions about insulation, electrical systems, plumbing, and furniture. Each decision depends on the one before it. Getting the order wrong means tearing out finished work. Getting the budget wrong means a half-built van sitting in the driveway. This guide walks through every stage of a van to camper conversion so you know what it actually takes.
Step 1 and 2: Plan Your Build and Choose the Right Van
The planning stage is where most beginner builds go wrong. People buy the van first, then figure out the layout. The layout should come first.
Start by answering four questions before spending anything.
Will you use the van for weekend trips or full-time living?
How many people need to sleep in it?
Do you need to stand up inside?
Will you work remotely and need a dedicated desk?
Your answers determine roof height, wheelbase, and which platforms are even viable.
Once the lifestyle questions are settled, choose the platform. The Ford Transit, Mercedes Sprinter, and RAM ProMaster are the three most common conversion bases.
Each has tradeoffs. Cargo van camper builds benefit most from upfront budget planning. Underestimating material costs is the number one reason builds stall halfway through.
Van selection checklist:
High-roof if you need to stand upright
148-inch or extended wheelbase for a fixed bed plus kitchen
High-roof standard wheelbase for solo or minimalist builds
AWD or 4WD only if you genuinely need off-road capability
Step 3 and 4: Strip, Prep, Insulate, and Ventilate
Once you have the van, the first real work is the least glamorous. Remove the cargo liner panels, any factory flooring, and the bulkhead if there is one. Check the bare metal for rust and treat any surface corrosion before it is sealed under insulation and panels.
Sound deadening goes on the bare metal next, applied to large flat panels on the floor, walls, and roof. It reduces road noise significantly and is far harder to add after the build is complete.
Insulation follows sound deadening. This stage shapes the livability of every build. A poorly insulated van loses warmth in minutes in cold weather and turns into an oven in sun. Materials vary: rigid foam board is affordable and effective. Wool is premium, non-toxic, and handles moisture well. Spray foam seals irregular gaps.
Choosing an insulation that genuinely handles both heat and condensation matters more in Florida builds than in temperate climates. The humidity makes condensation management critical.
After insulation, install the roof vent fan before any wall panels go up. This is the only time you can cleanly cut through the roof and seal the penetration properly. A 12V fan like the Maxxair or Fan-Tastic Vent provides ventilation, manages moisture, and helps regulate temperature in all seasons.
Step 5 and 6: Electrical System and Plumbing
The electrical system must be roughed in before walls go up. Wire runs through cavities that are inaccessible once panels are installed.
Core electrical components:
Battery bank. Lithium is preferred for depth of discharge and lifespan. AGM suits simpler builds.
Solar panels mounted to the roof
MPPT charge controller
Inverter for 120V appliances
DC fuse panel and bus bars
The distinction between lithium and AGM matters more as power demand increases. A simple lighting and phone-charging setup can run on AGM. A full van electrical system setup with a compressor fridge, laptop, and lighting needs lithium to work reliably. Poor wiring is a fire risk. If you are not confident reading a wiring diagram, this is the stage to hire help or consult a professional.
Plumbing is optional for many builds. A basic van plumbing system needs a fresh water tank, a 12V pump, a drain, and a gray water tank. More complex systems add a water heater and shower. Plan tank placement before flooring goes in. Tanks must be secured and accessible for maintenance. Full-time van life setups need more robust plumbing than weekend builds. The decisions made at this stage affect daily comfort and resale value.

Step 7, 8, and 9: Flooring, Furniture, and Finishing
With insulation, electrical rough-in, and plumbing lines in place, the build becomes visible.
Flooring: Install a plywood subfloor over the van floor ribs, then lay the finish floor on top. Vinyl plank is the most popular choice. It is durable, water-resistant, and easy to cut. Tongue-and-groove wood looks warmer but requires more care in wet climates.
Wall panels: Thin plywood or cedar tongue-and-groove panels attach to the van walls. Panels should be measured precisely. Van walls are rarely flat or straight. Gaps at panel edges invite moisture and look unfinished.
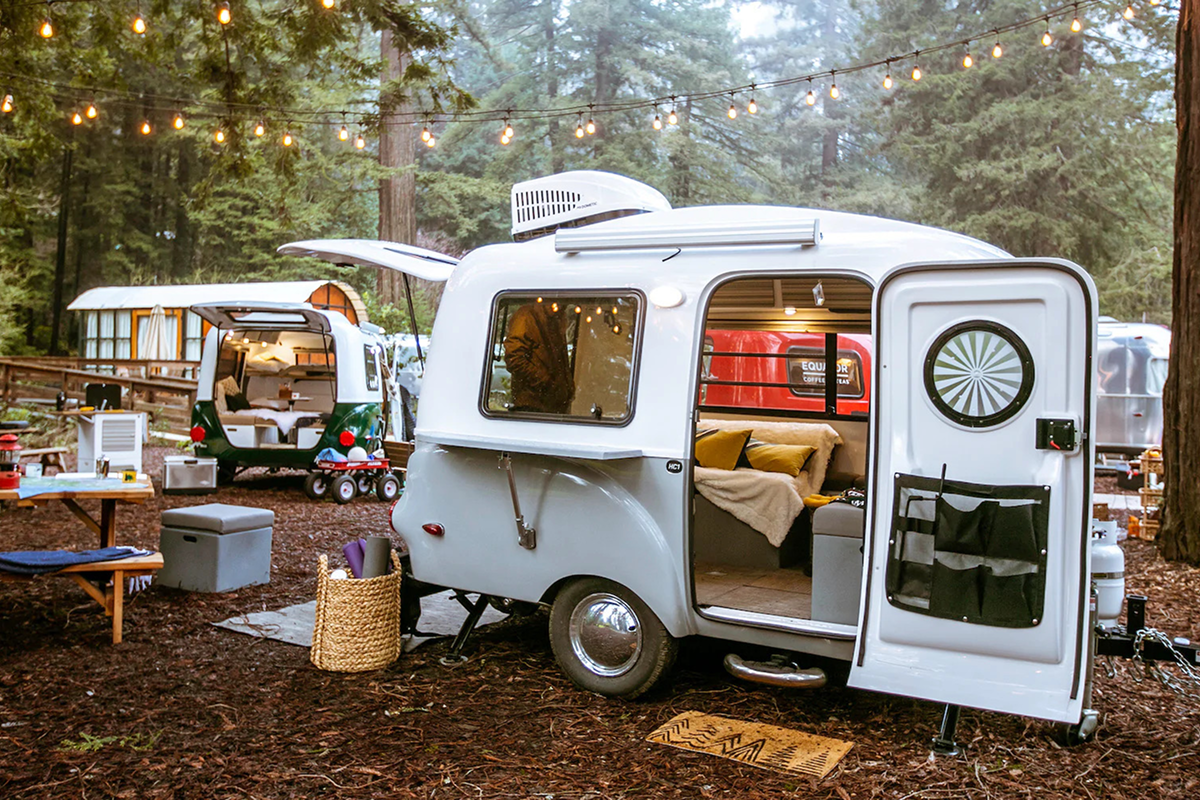
Bed platform and cabinetry: The camper van bed platform comes next. Fixed platforms are more comfortable for full-time use. Convertible platforms recover floor space but add daily setup time. Build cabinets and storage to fit the specific dimensions of your layout rather than adapting off-the-shelf furniture.
Smart camper van storage solutions make a significant difference in daily livability. Under-bed drawers, overhead shelving, and magnetic cabinet catches are all worth planning into the original design rather than adding later.
Finishing touches include 12V LED lighting, window coverings, and any decorative elements. Keep the lighting flexible. Dimmable warm LEDs work better for sleeping than fixed bright strips.
Cost, Timeline, and Build Types
Before committing to a diy camper van build, understand what the three main approaches cost and how long each takes.
Budget build (under $5,000) A van already owned or purchased cheaply, a platform bed, basic insulation, and minimal electrical. No fixed plumbing, no solar. Best for weekend use in mild climates. Expect 2 to 4 weeks of dedicated work.
Mid-range DIY build ($5,000 to $20,000) Proper insulation, a lithium battery bank with solar, a basic kitchen with a sink, and purpose-built storage. Most builders finish in 1 to 3 months.
Full off-grid setup ($20,000 to $60,000+) All systems fully integrated. Large solar array, 200 to 400Ah lithium, fresh and gray water, a shower, climate control, and custom cabinetry. Built for full-time van life. Plan for 3 to 6 months or longer.
If you are considering a kit-based starting point, understanding what a ford transit camper conversion kit actually includes helps set realistic expectations. Most kits cover furniture but leave all electrical and plumbing to you.
Hidden costs add up fast. Tools run $1,000 to $3,000 for a first build. Rework from layout errors can cost as much as the original materials. Time off work for a full-time build is a real financial factor.

Common Mistakes and When to Go Professional
Mistakes that cost the most:
Skipping planning and buying the van first
Ignoring weight limits. Every van has a payload rating. Exceeding it affects safety and handling.
Underestimating electrical complexity and doing it wrong the first time
Poor ventilation. Mold from trapped moisture is expensive to fix and can make a van unlivable.
Overbuilding too early. Complexity added before you know how you use the van is hard to undo.
Choosing the right cargo van platform before starting the build prevents the most expensive early mistake. The wrong platform limits every layout decision that follows.
When to hire a professional builder
DIY makes sense when the budget is tight, the build is simple, and you have time and some practical skills. A conversion kit-plus-DIY approach works well for weekend travelers.
Hiring professionals makes sense for complex electrical or plumbing builds, full-time van use, or when time is short. A failed electrical system on the road is a crisis, not an inconvenience. Professional adventure van builders sequence and integrate all systems from the start. The result is a more reliable and livable van than one built by retrofitting systems one at a time.
A well-executed camper van conversion is achievable as a DIY project. It requires honest planning, the right order of operations, and knowing which stages carry real risk if done incorrectly. When you turn a van into a camper well, the plan does more work than the tools. Most expensive mistakes trace back to decisions made before the build started, not errors made during it.
Mango Vans builds complete custom conversions out of South Florida across adventure and commercial platforms. See the Mango Vans builds gallery for finished examples across a range of layouts and use cases.
Frequently Asked Questions
How hard is it to convert a van into a camper?
It ranges from a weekend project to several months of work for a complete off-grid build. Electrical and plumbing carry real risk if done without experience.
How much does it cost to convert a van?
A budget build costs under $5,000. A mid-range DIY build runs $5,000 to $20,000. A full off-grid build typically runs $20,000 to $60,000 or more, not including the van itself.
How long does a van conversion take?
A simple setup takes 1 to 4 weeks. A mid-range DIY build takes 1 to 3 months. A full off-grid conversion takes 3 to 6 months or longer depending on complexity and available time.
Can I convert a van with no experience?
Yes, for simple builds. The electrical system is the stage most likely to require outside help or professional guidance. Many first-time builders complete a basic conversion successfully with careful research.
What tools do I need for a van build?
A circular saw, jigsaw, drill, impact driver, measuring tape, and a level cover most of the work. Specialty tools for electrical work include a multimeter and wire stripper. A first van build typically requires $1,000 to $3,000 in tools.
Do I need insulation in a camper van?
Strongly recommended for any regular use. Without insulation, the van loses heat rapidly in cold weather and overheats in direct sun. Condensation on uninsulated metal walls also causes moisture and mold problems.
Can I run electricity in a van safely?
Yes, with correct wiring, properly sized fuses, and the right gauge wire for each circuit. Incorrect wiring creates fire risk. If you are not confident with 12V electrical systems, hire help or have a professional review your diagram before installation.
Is it cheaper to build or buy a camper van?
Building is cheaper upfront for simple builds. A pre-built van or professional conversion costs more initially but delivers a finished, tested system. Factoring in rework, tools, and time, DIY cost advantages shrink significantly on complex builds.
What is the easiest van to convert?
The RAM ProMaster is considered the most DIY-friendly for its flat walls and wide interior. The Ford Transit is the most popular for its availability and dealer network. The Sprinter is the most capable but the most expensive and specialized.
Should I DIY or hire a professional van builder?
DIY suits weekend-use and budget builds where simplicity is a priority. Hire a professional for full-time builds, complex systems, or when time and reliability matter more than upfront cost.